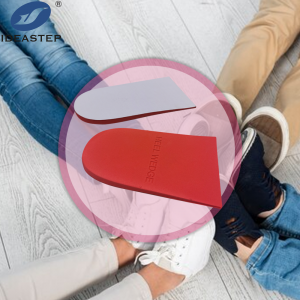
The heel pad can provide additional comfort for the heel and has certain effects on heel tendinitis and plantar fasciitis. Therefore, some people will put heel pads in their shoes to improve comfort. How to use the heel pad correctly?
To use heel pads, follow these steps:
1. Clean and dry: Ensure that the inside of your shoes is clean and dry before inserting the heel pads. This will help them adhere properly and stay in place.
2. Determine placement: Identify the correct placement of the heel pads. They are typically designed to fit in the back of the shoe, just below the heel area.
3. Remove adhesive backing: Peel off the adhesive backing from the heel pads to expose the sticky side. Be careful not to touch the adhesive with your fingers to maintain its effectiveness.
4. Position and press: Carefully position the heel pad in the desired location inside the shoe, aligning it with the heel area. Press it down firmly to secure it in place. Make sure it is centered and fully adhered to.
5. Test for comfort: Put on the shoes with the inserted heel pads and walk around to assess the comfort. If needed, you can make minor adjustments to the placement of the heel pads to achieve optimal support and cushioning.
6. Repeat for the other shoe: Repeat the process for the other shoe to ensure both feet receive the desired level of support.
It’s essential to follow the manufacturer’s instructions that come with the specific heel pads you are using, as some variations may have slightly different application methods. If you experience any discomfort or issues, it’s advisable to consult with a healthcare professional or podiatrist for further guidance.
Expand more related content: https://www.aideastep.com/heel-pads/.

