
To make customized insoles from heat moldable plastic sheets, you will need the following materials and tools:
Materials:
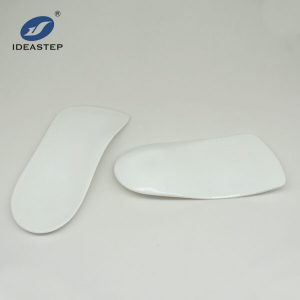
- Heat moldable plastic sheets (such as EVA or thermoplastic)
- Insole template or existing insoles for reference
- Marker or pen
- Scissors or utility knife
- Heat source (such as a heat gun or oven)
- Oven mitts or heat-resistant gloves
- Optional: Sandpaper or file for finishing
steps:
Here’s a step-by-step guide on how to make customized insoles:
- Start by tracing the outline of your foot an existing insole onto the heat moldable plastic sheet using a marker or pen. Make sure to trace both the left and right foot separately.
- Use scissors or a utility knife carefully cut out the traced outlines. Take your time and ensure clean, precise cuts.
- Preheat your heat source according to the manufacturer’s instructions. If you’re using a heat gun, set it to a medium heat setting. If you’re using an oven, preheat it to the recommended temperature for the specific type heat moldable plastic sheet you using.
- Once the heat source is ready, place one of the plastic sheet cutouts onto a heat-resistant surface. Hold the heat gun or place the sheet in the oven, ensuring that it heats evenly and doesn’t burn or melt.
- As the plastic sheet begins to soften and become pliable, carefully remove it from the heat source using oven mitts or heat-resistant gloves. cautious not to burn yourself during this step.
- Immediately place the softened plastic sheet onto your foot or the existing insole for reference. Gently press and mold the plastic around the contours of your foot, ensuring a snug fit and proper arch support. You can use your hands or a rolling pin to help shape the plastic.
- Allow the plastic to cool and harden completely. This may take a few minutes, depending on the type of plastic sheet used.
- Repeat the heating and molding process for the other foot or insole.
- Once both insoles have cooled and hardened, you can trim any excess material using scissors or a utility knife. Be careful not to cut too much, as you want to maintain the desired shape and size.
- 10. If desired, you can use sandpaper or a file to smooth out any rough edges or imperfections on the insoles.
- 11. Insert the customized insoles into your shoes and test them for comfort and fit. Make any necessary adjustments by reheating and remolding specific areas needed.
Remember, it’s essential to follow the manufacturer’s instructions for the specific heat moldable plastic sheets you’re using, as different materials may have varying temperature and heating requirements.
If you need heat moldable plastic sheets, you can click here to know more information.