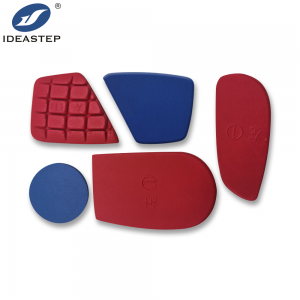
To use a heel wedge correctly, follow these steps:
1. Select the appropriate heel wedge
Heel wedges come in different sizes and heights to accommodate various leg length discrepancies. Choose a heel wedge that matches the required lift for the shorter leg.
2. Prepare the shoe
Remove the shoe’s existing insole if it is removable. This will create space for the heel wedge and ensure a proper fit.
3. Insert the heel wedge
Place the heel wedge inside the shoe, positioning it under the heel of the shorter leg. The tapered end of the wedge should face towards the toes.
4. Adjust the height
If using a height-adjustable heel wedge, set it to the desired lift height. Follow the manufacturer’s instructions for adjusting the height, which may involve adding or removing layers of the wedge.
5. Ensure proper alignment
Stand up and check your body’s alignment and comfort. The heel wedge should provide a balanced and comfortable position for both legs. If necessary, make minor adjustments to the height or position of the wedge to achieve optimal alignment.
6. Test and adapt
Walk around and perform various activities to ensure that the heel wedge feels comfortable and stable. Pay attention to any changes in gait or discomfort. It may take some time for your body to adapt to the new alignment, so gradually increase the duration of wear.
7. Regularly reassess
Over time, it may be necessary to readjust the height of the heel wedge as your body adapts or if there are changes in your leg length discrepancy. Regularly reassess your comfort and alignment, and make any necessary adjustments.
Note: It is important to consult with a healthcare professional or orthopedic specialist for guidance on using heel wedges correctly. They can provide a thorough evaluation, recommend the appropriate heel wedge, and offer specific instructions tailored to your individual needs.
Expand more related content: https://www.aideastep.com/heel-pads/.

